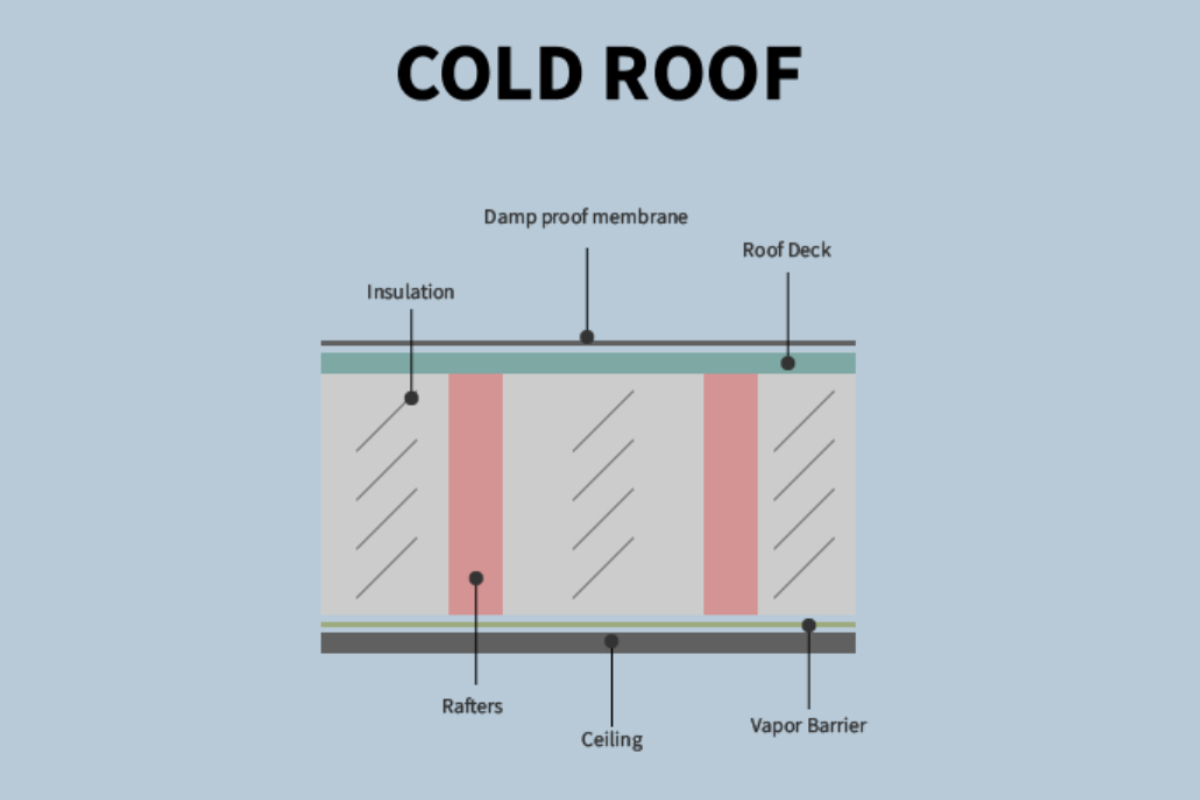
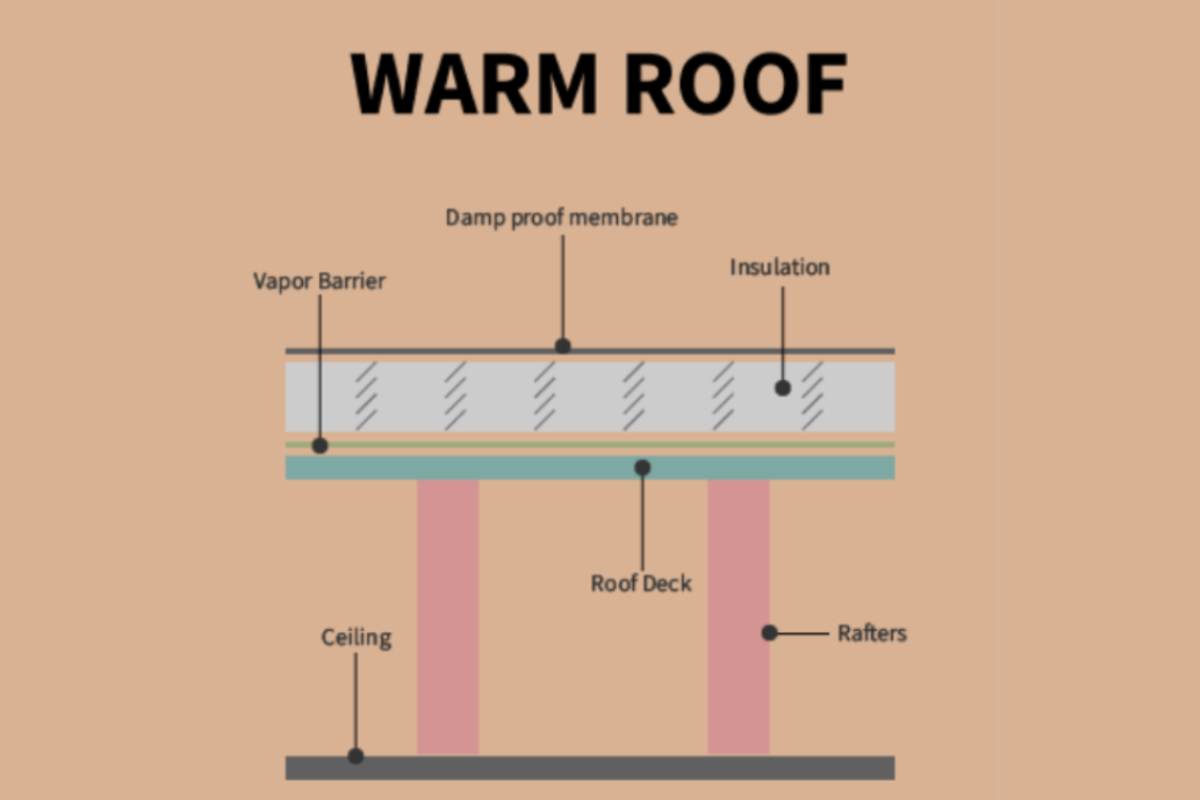
When it comes to insulating your loft, it's often best to "get the ball rolling" with a cost-effective and straightforward approach.
Now, let's dive into the DIY process.
First off, clear out your loft, removing any old boxes or forgotten items.
Next, lag (insulate) any pipes and water tanks in the roof space to prevent freezing, especially considering that the attic becomes significantly colder once it's insulated from the living space below.
Take a thorough look to check for any electrical wiring in the attic. If you find any, it needs to be positioned above the insulation material, but be careful not to stretch out the wiring. If you're unsure how to proceed, it's wise to consult with a professional electrician.
Now, measure up your loft and pick up enough blanket insulation to achieve a depth of at least 270mm.
Unroll the insulation and lay it along between the joists. Since most joists are around 100mm high (double-check this measurement first), you'll need 100mm thick wool for the initial layer. Loft insulation rolls usually come in a width of 1140mm, so you might need to cut them down to fit. Always use scissors to avoid tearing or stretching the material, as this could impact its effectiveness.
To complete the job, create a second layer perpendicular to the first. If your initial layer is 100mm deep, use 200mm of wool for the second layer. This method ensures thorough insulation and minimizes heat loss.


